
SAVE THE DATE
I am super excited to ANNOUNCE the dates
for my upcoming October 2024 ~ Creative Happening.
A time of gathering with Friends to CREATE!!
Bring your creative supplies to work on, take a class or watch a demo.
OCTOBER 17-20, 2024Early Bird Registration
is available for October 16*
*additional fee of $30 per person


REGISTRATION is $230 per person
includes:
Scrapping Space
one ~ 6' table per person
one ~ 6' table per person
Saturday Night THEME MIXER with Cash Bar
Prizes
Classes
Demos
Vendors
and LOTS of FUN!
included in the registration is a
$95 NON REFUNDABLE* deposit

Early Bird Arrival available for October 18, 2023
for an additional fee of $30 per person.
for an additional fee of $30 per person.
(Hotel room not included)
The scrap room doors will be open at 4pm
(and not before) on that day!
The scrap room doors will be open at 4pm
(and not before) on that day!

For a Registration Form
and/or more information email me at
LynneForsythe@yahoo.com
and/or more information email me at
LynneForsythe@yahoo.com
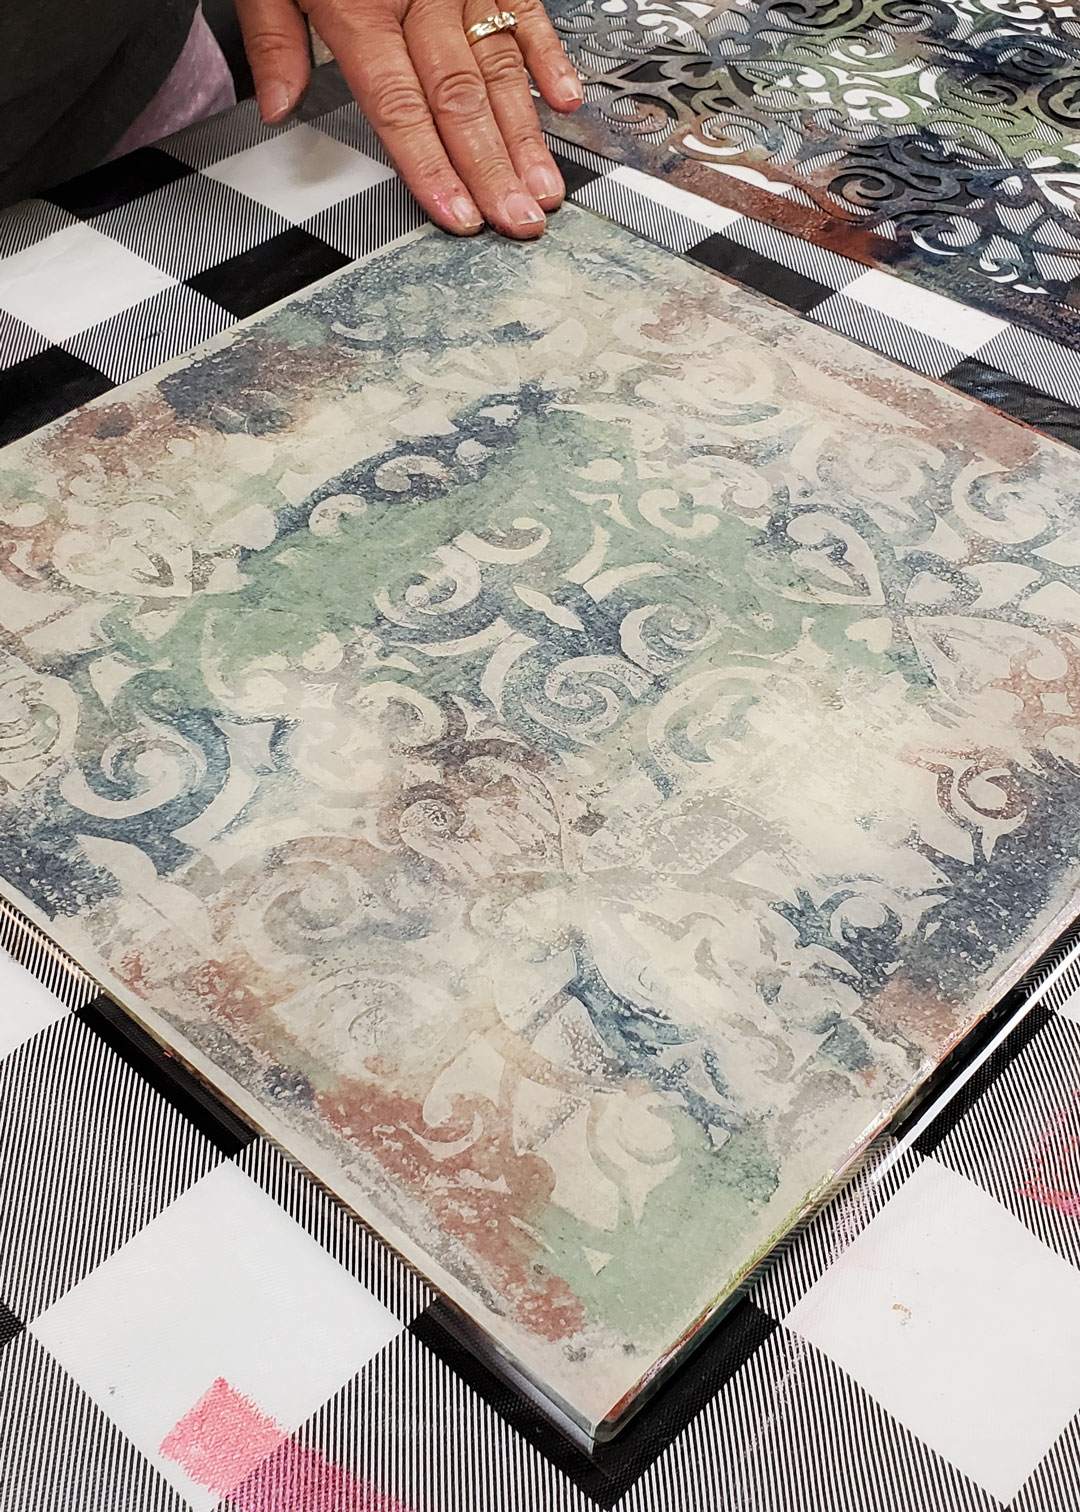 |
| Classes and Demos |
PLEASE make your HOTEL reservations directly by contacting
the Grand Summit Hotel at Attitash
603.374.6700
reference the Lynne Forsythe Designs Group
A block of rooms has been reserved


Make your RESERVATIONS today!
email me at LynneForsythe@yahoo,com
LOOKING FORWARD to seeing you in the FALL when
we will LAUGH, have FUN all while CREATING with FRIENDS!!
we will LAUGH, have FUN all while CREATING with FRIENDS!!

Lynne Forsythe Designs, LLC
15 Main Street, 3E
Littleton, NH 03561
*There shall be no refund of the NONREFUNDABLE deposit 48 hours after registering for this event as Lynne Forsythe Designs, LLC will incur costs and expenses to reserve space and purchase materials.
*There shall be no refund of the NONREFUNDABLE deposit 48 hours after registering for this event as Lynne Forsythe Designs, LLC will incur costs and expenses to reserve space and purchase materials.


